

Back Up to Amazon S3
Send copies of your Odoo backups to an Amazon S3 bucket in your own AWS account. You set up three things in AWS (an account, a bucket and a key), then add them to Easy Instance.
Other S3-compatible storage
The same steps work with any S3-compatible service, such as Wasabi, Backblaze B2, Cloudflare R2 or MinIO. Create a bucket and a key there, and use that service's endpoint URL.
Step 1: Create an AWS Account
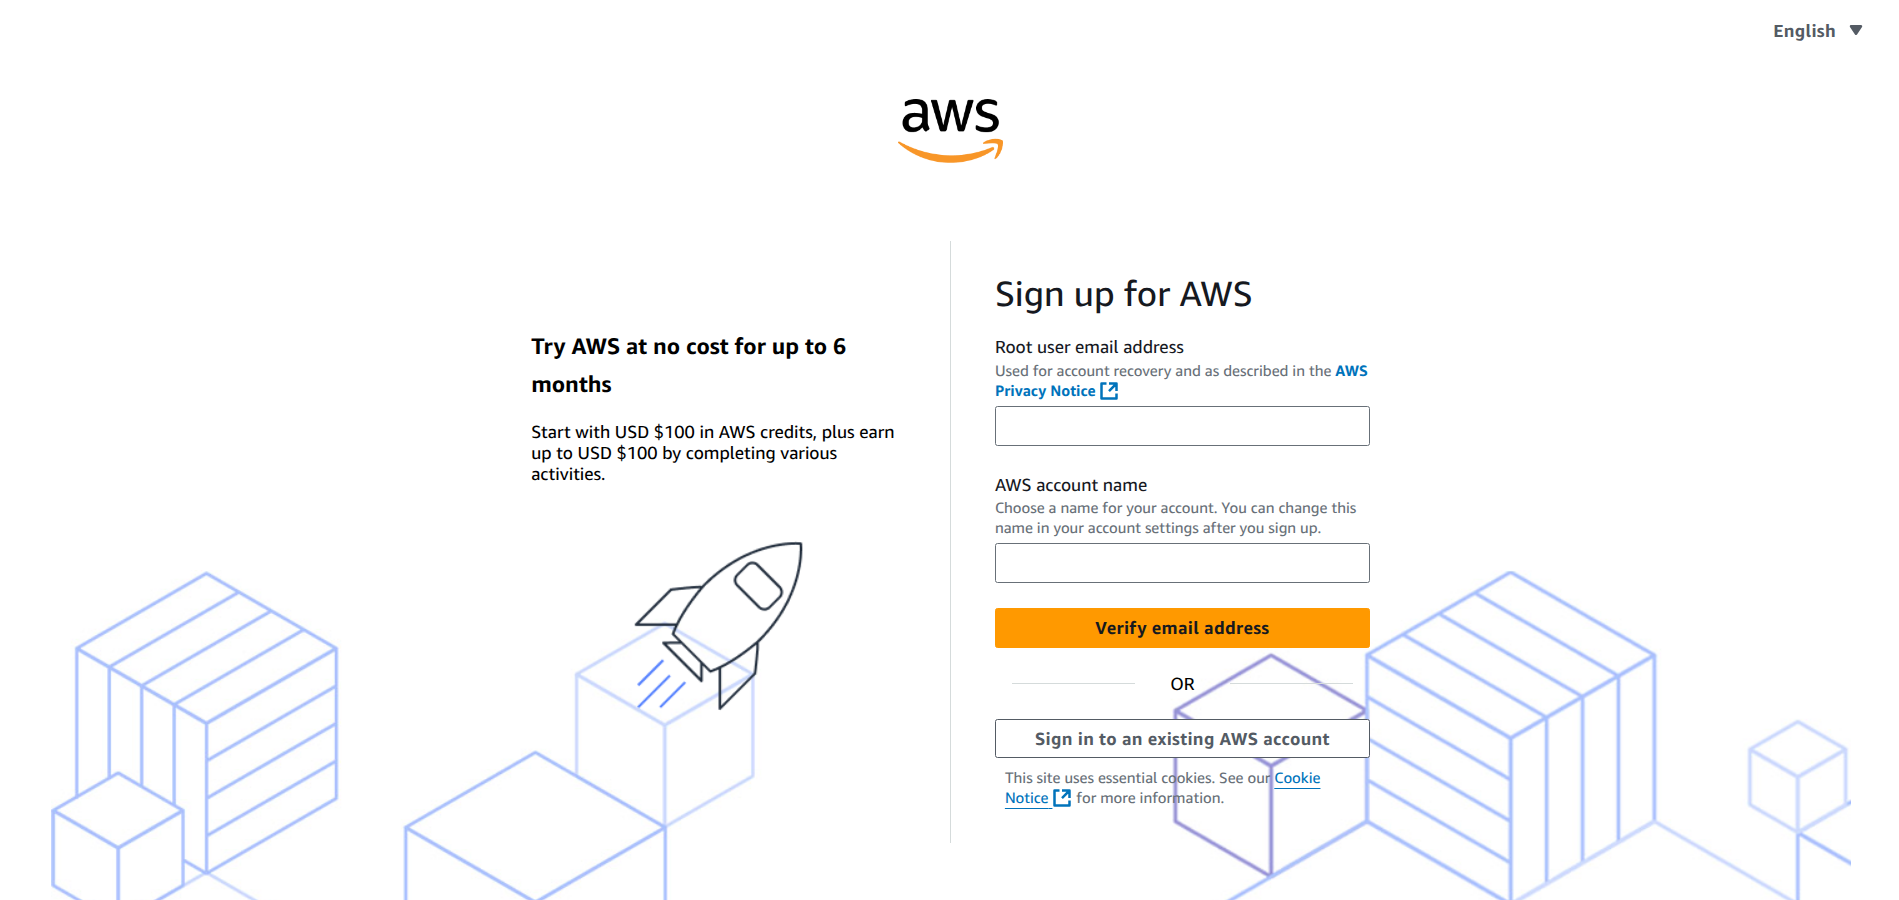
If you don't have an Amazon Web Services (AWS) account yet, go to aws.amazon.com/s3, select Get started, and follow the sign-up steps.
Step 2: Create a Bucket
A bucket is the folder in S3 where your backups are stored.
Sign in to the AWS Management Console.
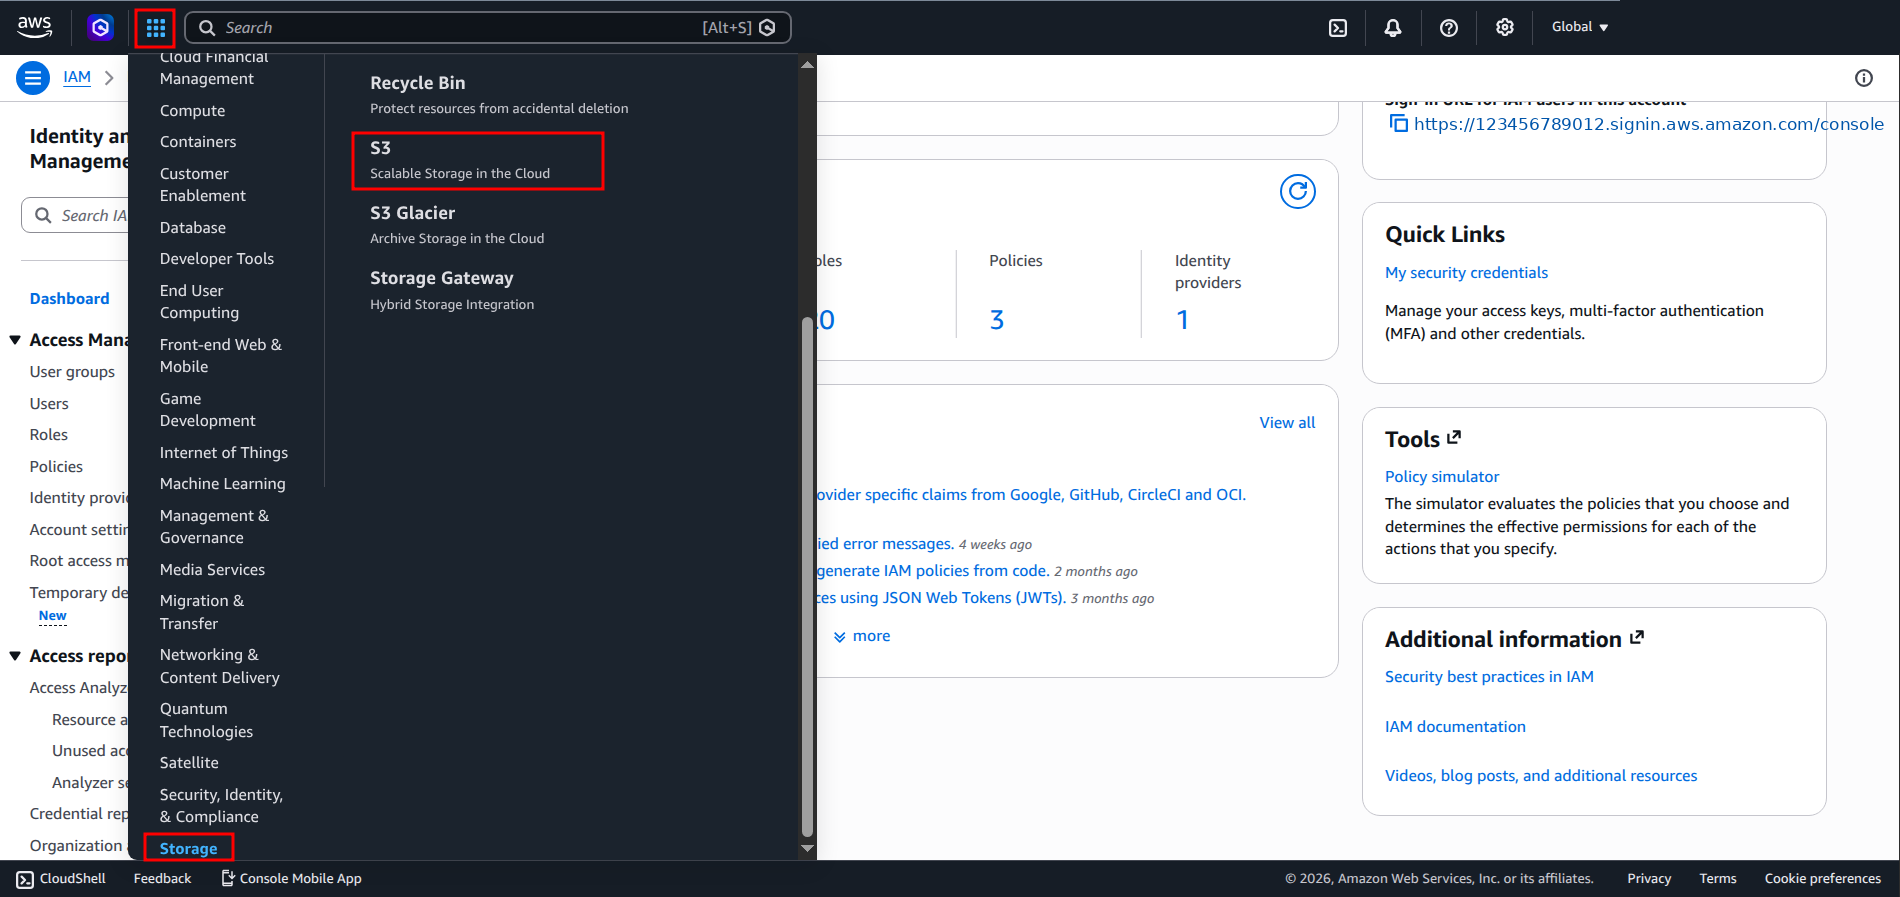
Open S3. You can find it under Storage in the services menu, or by searching for "S3".
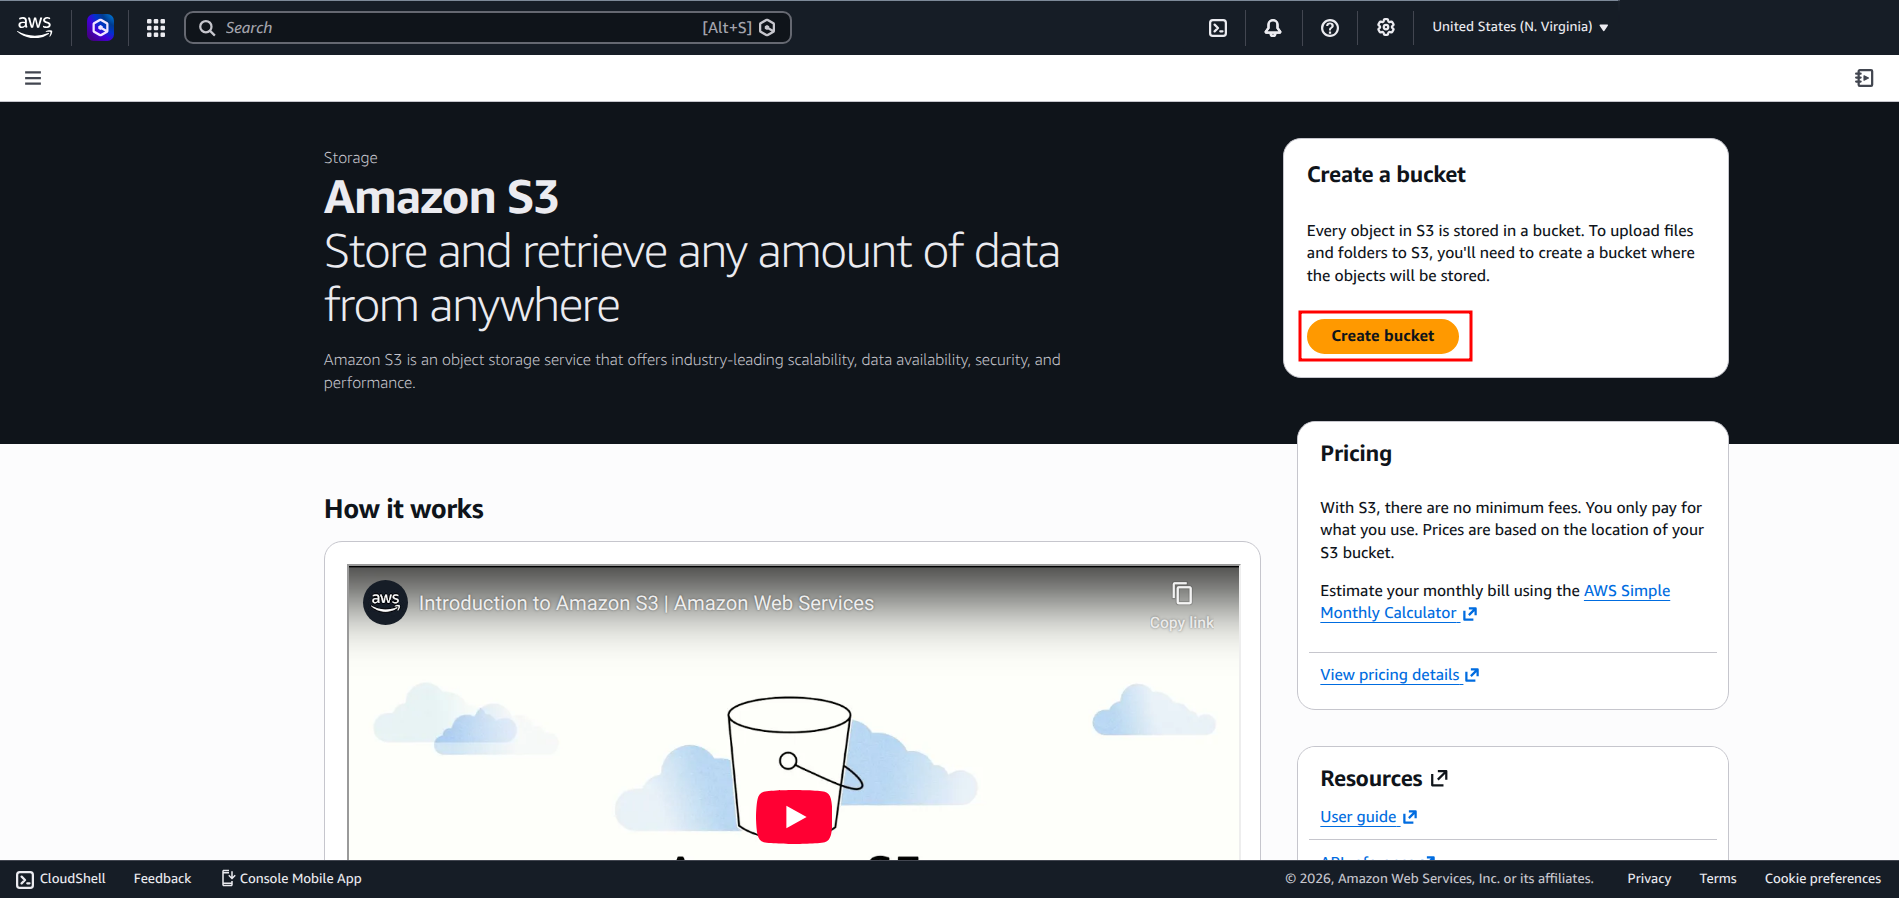
Select Create bucket.
Enter a Bucket name. Use lowercase letters, numbers and hyphens, for example
acme-odoo-backups.Choose the AWS Region closest to you, and note it, for example
eu-central-1.Leave the other settings as they are and select Create bucket.
Step 3: Create an Access Key
Easy Instance needs an access key to write to your bucket. Create it for a separate IAM user (a login inside your AWS account with only the permissions you give it), not for your main account.
- In the AWS console, open IAM, then Users, and select Create user. Give it a name such as
easy-instance-backups. - Give the user permission to use your bucket only:
s3:PutObject,s3:GetObject,s3:DeleteObjectands3:ListBucketon that bucket. - Open the user, go to Security credentials, and select Create access key.
- Copy the Access key and the Secret access key.

WARNING
AWS shows the secret access key only once. Copy it before you close the page.
Step 4: Add the Destination in Easy Instance
- Open the instance and select Backups.
- Select Add destination.
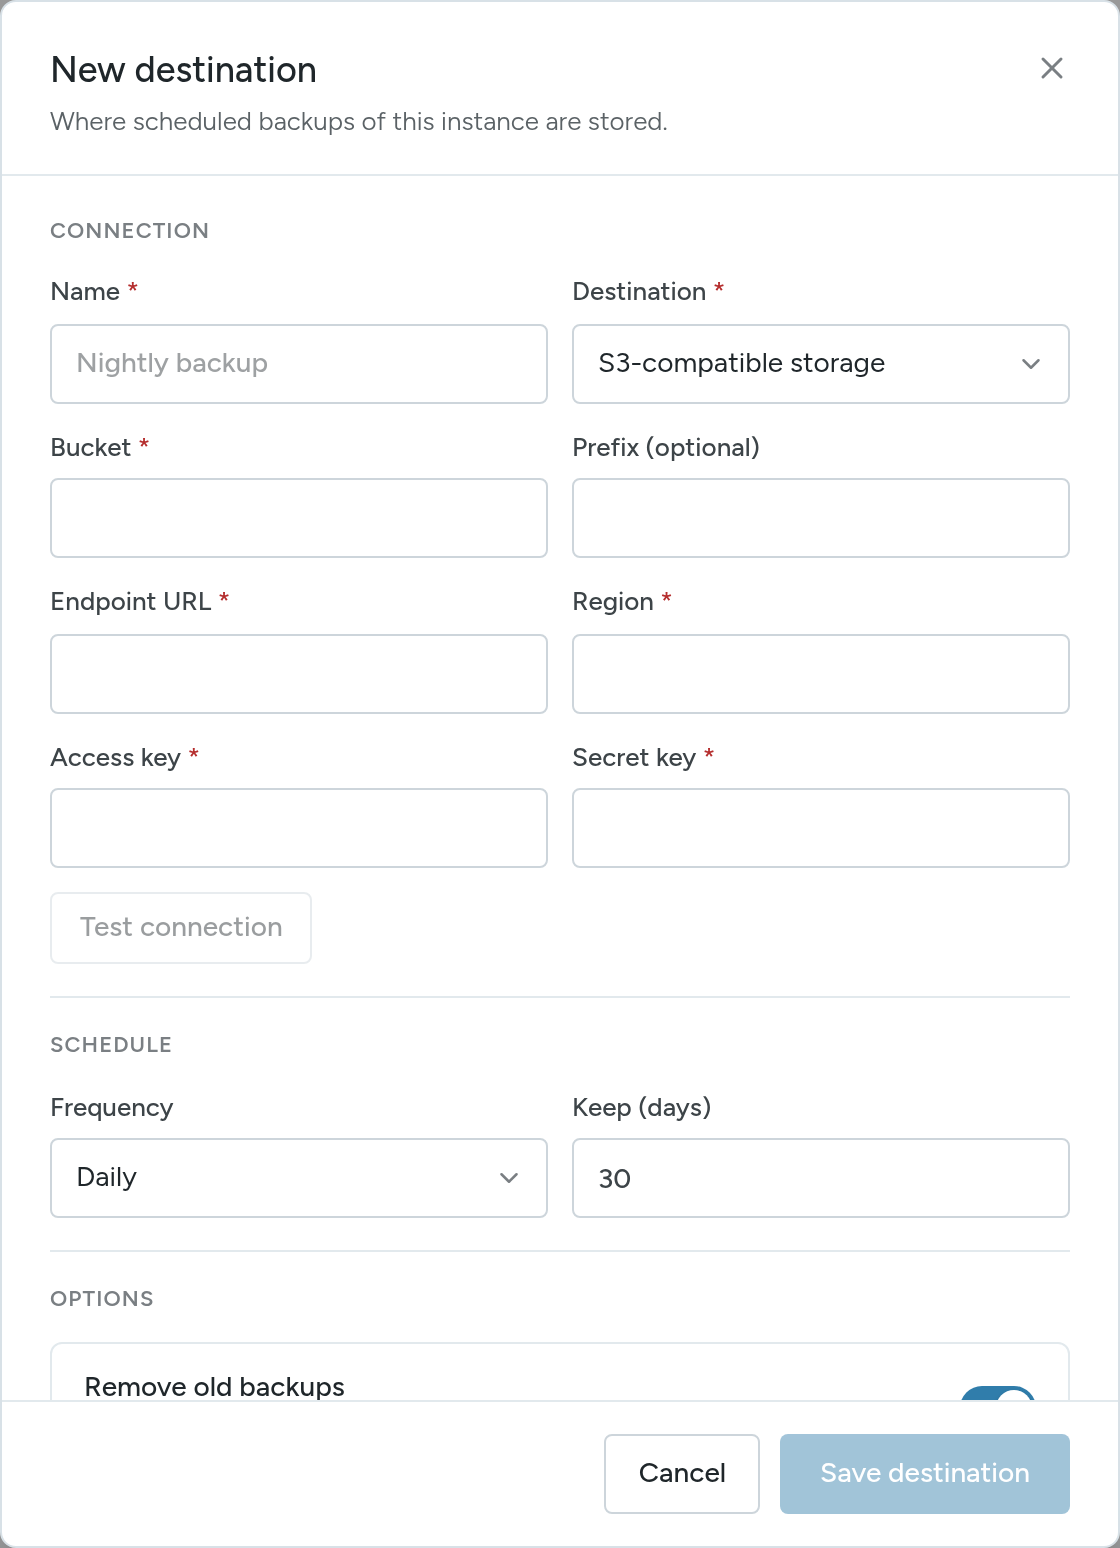
- Enter a Name and choose S3-compatible storage as the Destination.
- Fill in the connection:
- Bucket: the bucket name from step 2.
- Prefix (optional): a folder inside the bucket, for example
odoo-backups/. - Endpoint URL: the S3 address for your region, for example
https://s3.eu-central-1.amazonaws.com. - Region: the bucket's region, for example
eu-central-1. - Access key and Secret key: the keys from step 3.
- Select Test connection.
- Set the Frequency and Keep (days), and the options. See Schedule and Options.
- Select Save destination.
Step 5: Check It Works
Select Create Backup, choose the S3 destination and confirm. When the backup completes, open the bucket in the AWS console and check that the backup file is there.